How to Customize Slider in Median UI Blogger Template
Median UI Slider Settings: Nowadays most bloggers are using a blogger template called Median UI Premium Blogger Template. There are many versions of Median UI Premium Blogger Templates Available in the market or on the web like Median UI 1.3 Blogger Template, Median UI 1.4 Blogger Template, Median UI 1.5 Blogger Template, Median UI 1.6 Blogger Template. All these versions of median UI Blogger Templates have some features that typical blogger templates do not have. One such feature is Slider in Median UI Blogger Templates.
 |
| median ui slider settings |
We already have provided you with Median UI 1.5 Premium Blogger Template and Median UI 1.6 Premium Blogger Template. Today we will tell you How to Customise Sliders in Median UI Blogger Template or Median UI Slider Settings.
Customizing Sliders in Median UI Premium Blogger Template is Very Easy and once you read this post completely you will be able to customize Slider in any version of Median UI Blogger.
What is Slider in Median UI Blogger Template?
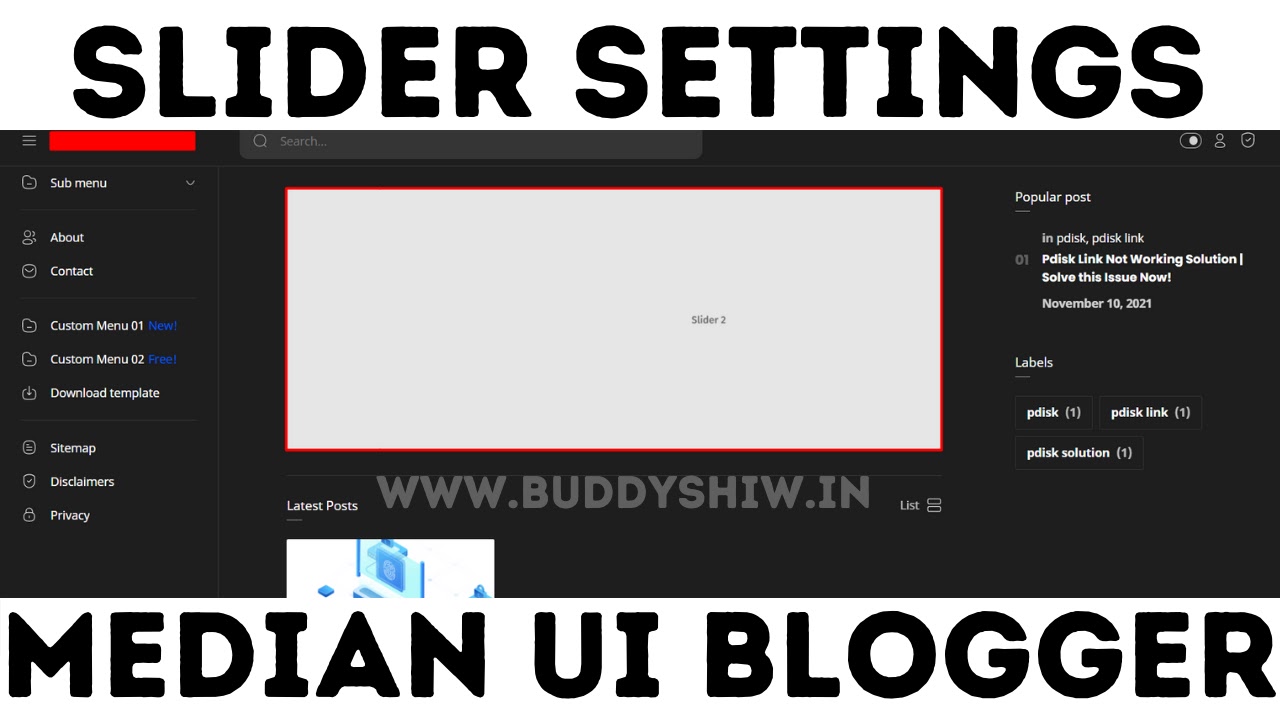
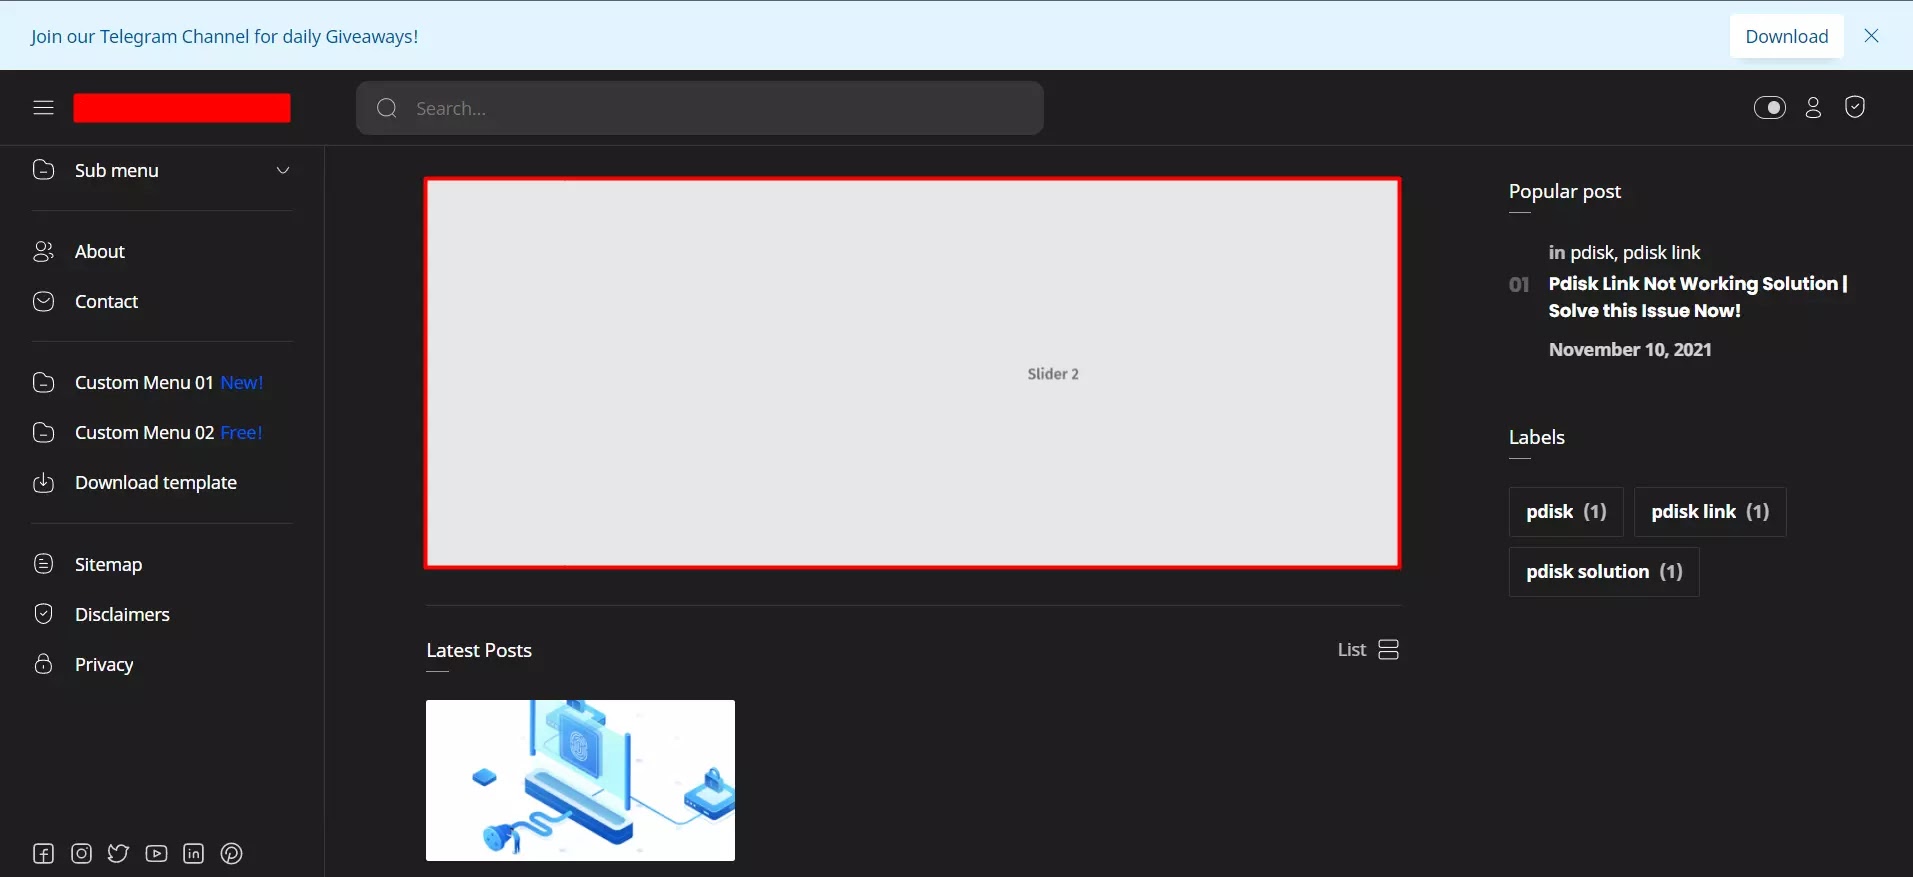
Slider in Median UI Blogger Template is just a feature or widget as many other features in Median UI Blogger Templates. Slider is often known as Slider Mini in Median UI Blogger Template. Slider is present at the top of the pinned post and all the other posts on a Website in Median UI Blogger Template.
 |
| median ui slider settings |
By default, there are only four sliders in this Slider Widget, however, you can also increase the number of Sliders in Median UI Premium Blogger Template. Slider in Median UI Blogger Template consists of a series of images that are easy to read to deliver some information.
Join our telegram Channel. Click here.
What is the use of Slider in Median UI Blogger Template?
Slider in Median UI Blogger Template can be very useful for your blog or website. Slider in Median UI Blogger Template is used to convey some kind of message to your audience or the readers of your blog. Generally, Sliders in Median UI Blogger Template is used to convey an important message about the blog particularly to announce your Blog Content Readers.
 |
| median ui slider settings |
For example, if you are going to make some changes to your blog then you can convey this message in the form of images in the Sliders in Median Ui Blogger Template. Another way to use Slider in Median UI Blogger Template is using it to tell about your blog, I mean to tell what your blog is about or what you provide on your blog. To make the use of Slider in Median UI Blogger Template more clear you can check the practical example of Slider in our blog by visiting the Blog section of our website.
How to Customise Slider in Median UI 1.4 Blogger Template?
Median UI Slider Settings: Customizing Slider in Median UI Blogger Template is not a hard task to accomplish. You can easily Customize Slider Median UI Blogger Template. Median UI Blogger Template is designed in such a way that a person who does not know to code even can customize Median UI Blogger Template Easily and so is the case with Sliders in Median UI Blogger Template.
To Customize Slider in Median UI 1.4 Blogger Template follow the steps below.
1. First of all, you need to make some images that you want to display on a slider on your website or blog.
2. For this I recommend Canva. You can create images according to you, which means something that you want users to see in the slider.
3. Once all the four images are ready with you to log in to your blogger dashboard or dashboard of the blog in which you want to customize Slider in Median UI 1.4 Blogger Template.
4. It's time to upload these four images of sliders to your blog. So open any post and upload all four images and get these image URLs.
 |
| slider settings median ui |
5. To get URLs you need to publish the post in which you uploaded all four images.
6. Once published the post-visit it, open each image in a new tab, you will see the URL of images on the address bar. Just copy and save URLs at a safe place like notepad.
7. Now you can delete the uploaded images in the post as we have got the URLs of the images.
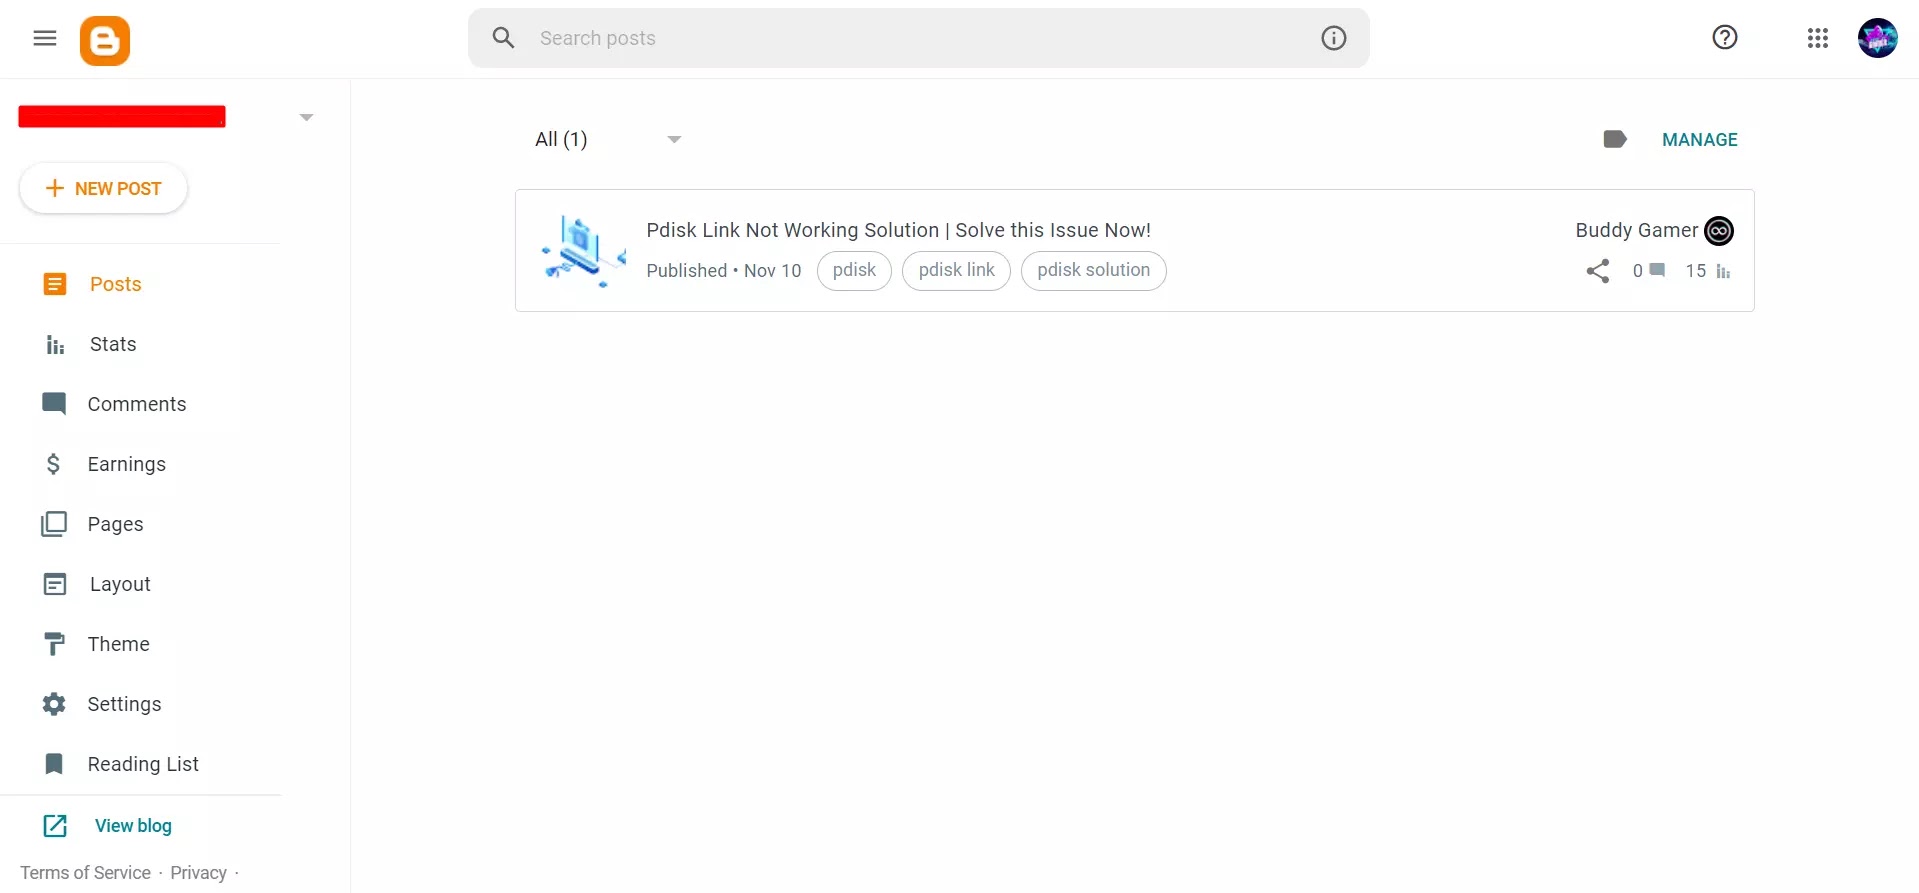
8. Now click on Layout present on the sidebar of the blogger dashboard.
9. Find a widget named Slider Mini in the Layout Section of your Blog.
10. Now click on the pencil icon on that slider mini in Median UI 1.4 Blogger Template.
11. You will see that by default the widget is turned off, just toggle the button on.
12. Now below it, you will notice a block of code as given below, don't worry it's easy to set up a slider in the median UI blogger template.
13. Copy the first image URL and paste it in data-bg='your image here'.
14. Do the same with the other three images one by one.
15. Once you are done just click on the Save button.
16. Visit your blog and now if everything is perfect you will see a slider on your Median UI Blogger Template Blog.
Congratulations you have successfully set up Slider in Median UI 1.4 Blogger Template.
How to Customise Slider in Median UI 1.5 Blogger Template?
As you know we already have provided Median UI 1.5 Blogger Template now is the time to customise Slider in Median UI 1.5 Blogger Template.
To Customize Slider in Median UI 1.5 Blogger Template follow the steps below.
1. First of all, you need to make some images that you want to display on a slider on your website or blog.
2. For this I recommend Canva. You can create images according to you, which means something that you want users to see in the slider.
3. Once all the four images are ready with you to log in to your blogger dashboard or dashboard of the blog in which you want to customize Slider in Median UI 1.5 Blogger Template.
4. It's time to upload these four images of sliders to your blog. So open any post and upload all four images and get these image URLs.
5. To get URLs you need to publish the post in which you uploaded all four images.
6. Once published the post-visit it, open each image in a new tab, you will see the URL of images on the address bar. Just copy and save URLs at a safe place like notepad.
7. Now you can delete the uploaded images in the post as we have got the URLs of the images.
8. Now click on Layout present on the sidebar of the blogger dashboard.
 |
| customize slider median ui 1.6 blogger |
9. Find a widget named Slider Mini in the Layout Section of your Blog.
10. Now click on the pencil icon on that slider mini in Median UI 1.5 Blogger Template.
11. You will see that by default the widget is turned off, just toggle the button on.
12. Now below it, you will notice a block of code as given below, don't worry it's easy to set up a slider in the median UI blogger template.
13. Copy the first image URL and paste it in data-bg='your image here'.
14. Do the same with the other three images one by one.
15. Once you are done just click on the Save button.
16. Visit your blog and now if everything is perfect you will see a slider on your Median UI Blogger Template Blog.
Congratulations you have successfully set up Slider in Median UI 1.5 Blogger Template.
How to Customise Slider in Median UI 1.6 Blogger Template?
Just as Median UI 1.5 Blogger Template we already have provided the Median UI 1.6 Blogger Template now is the time to customise Slider in Median UI 1.6 Blogger Template.
To Customize Slider in Median UI 1.6 Blogger Template follow the steps below.
1. First of all, you need to make some images that you want to display on a slider on your website or blog.
2. For this I recommend Canva. You can create images according to you, which means something that you want users to see in the slider.
3. Once all the four images are ready with you to log in to your blogger dashboard or dashboard of the blog in which you want to customize Slider in Median UI 1.6 Blogger Template.
4. It's time to upload these four images of sliders to your blog. So open any post and upload all four images and get these image URLs.
5. To get URLs you need to publish the post in which you uploaded all four images.
6. Once published the post-visit it, open each image in a new tab, you will see the URL of images on the address bar. Just copy and save URLs at a safe place like notepad.
7. Now you can delete the uploaded images in the post as we have got the URLs of the images.
8. Now click on Layout present on the sidebar of the blogger dashboard.
9. Find a widget named Slider Mini in the Layout Section of your Blog.
10. Now click on the pencil icon on that slider mini in Median UI 1.6 Blogger Template.
11. You will see that by default the widget is turned off, just toggle the button on.
12. Now below it, you will notice a block of code as given below, don't worry it's easy to set up a slider in the median UI blogger template.
 |
| slider settings median ui blogger template |
13. Copy the first image URL and paste it in data-bg='your image here'.
14. Do the same with the other three images one by one.
15. Once you are done just click on the Save button.
16. Visit your blog and now if everything is perfect you will see a slider on your Median UI Blogger Template Blog.
Congratulations you have successfully set up Slider in Median UI 1.6 Blogger Template.
How to Customise Slider in iMagz 1.2 Blogger Template?
To Customize Slider in iMagz 1.2 Blogger Template follow the steps below.
1. First of all, you need to make some images that you want to display on a slider on your website or blog.
2. For this I recommend Canva. You can create images according to you, which means something that you want users to see in the slider.
3. Once all the four images are ready with you to log in to your blogger dashboard or dashboard of the blog in which you want to customize Slider in iMagz 1.2 1.6 Blogger Template.
'
4. It's time to upload these four images of sliders to your blog. So open any post and upload all four images and get these image URLs.
5. To get URLs you need to publish the post in which you uploaded all four images.
6. Once published the post-visit it, open each image in a new tab, you will see the URL of images on the address bar. Just copy and save URLs at a safe place like notepad.
7. Now you can delete the uploaded images in the post as we have got the URLs of the images.
8. Now click on Layout present on the sidebar of the blogger dashboard.
9. Find a widget named Slider Mini in the Layout Section of your Blog.
10. Now click on the pencil icon on that slider mini in iMagz 1.2 1.6 Blogger Template.
11. You will see that by default the widget is turned off, just toggle the button on.
12. Now below it, you will notice a block of code as given below, don't worry it's easy to set up a slider in the median UI blogger template.
13. Copy the first image URL and paste it in data-bg='your image here'.
14. Do the same with the other three images one by one.
15. Once you are done just click on the Save button.
16. Visit your blog and now if everything is perfect you will see a slider on your iMagz 1.2 Blogger Template Blog.
 |
| slider median ui blogger |
Congratulations you have successfully set up Slider in iMagz 1. 2 Blogger Template.
Conclusion
There are many functions or features particularly widgets in different versions of Median UI like Median UI 1.4, 1.5, 1.6 Blogger Templates. One such widget is Slider. In this post, we explained in detail that How to Customize the Slider in Median UI 1.4, Median UI 1.5, Median UI 1.6 Blogger Templates. Further, addition, we also explained What is Slider in Median UI Blogger Templates and What is the use of a Slider in Median UI Blogger Templates. in different versions of Median UI like Median UI 1.4, 1.5, 1.6 Blogger Templates.